Logos
Team Roles
(Roles have changed since then)
Week 1
Help out with Concept Art
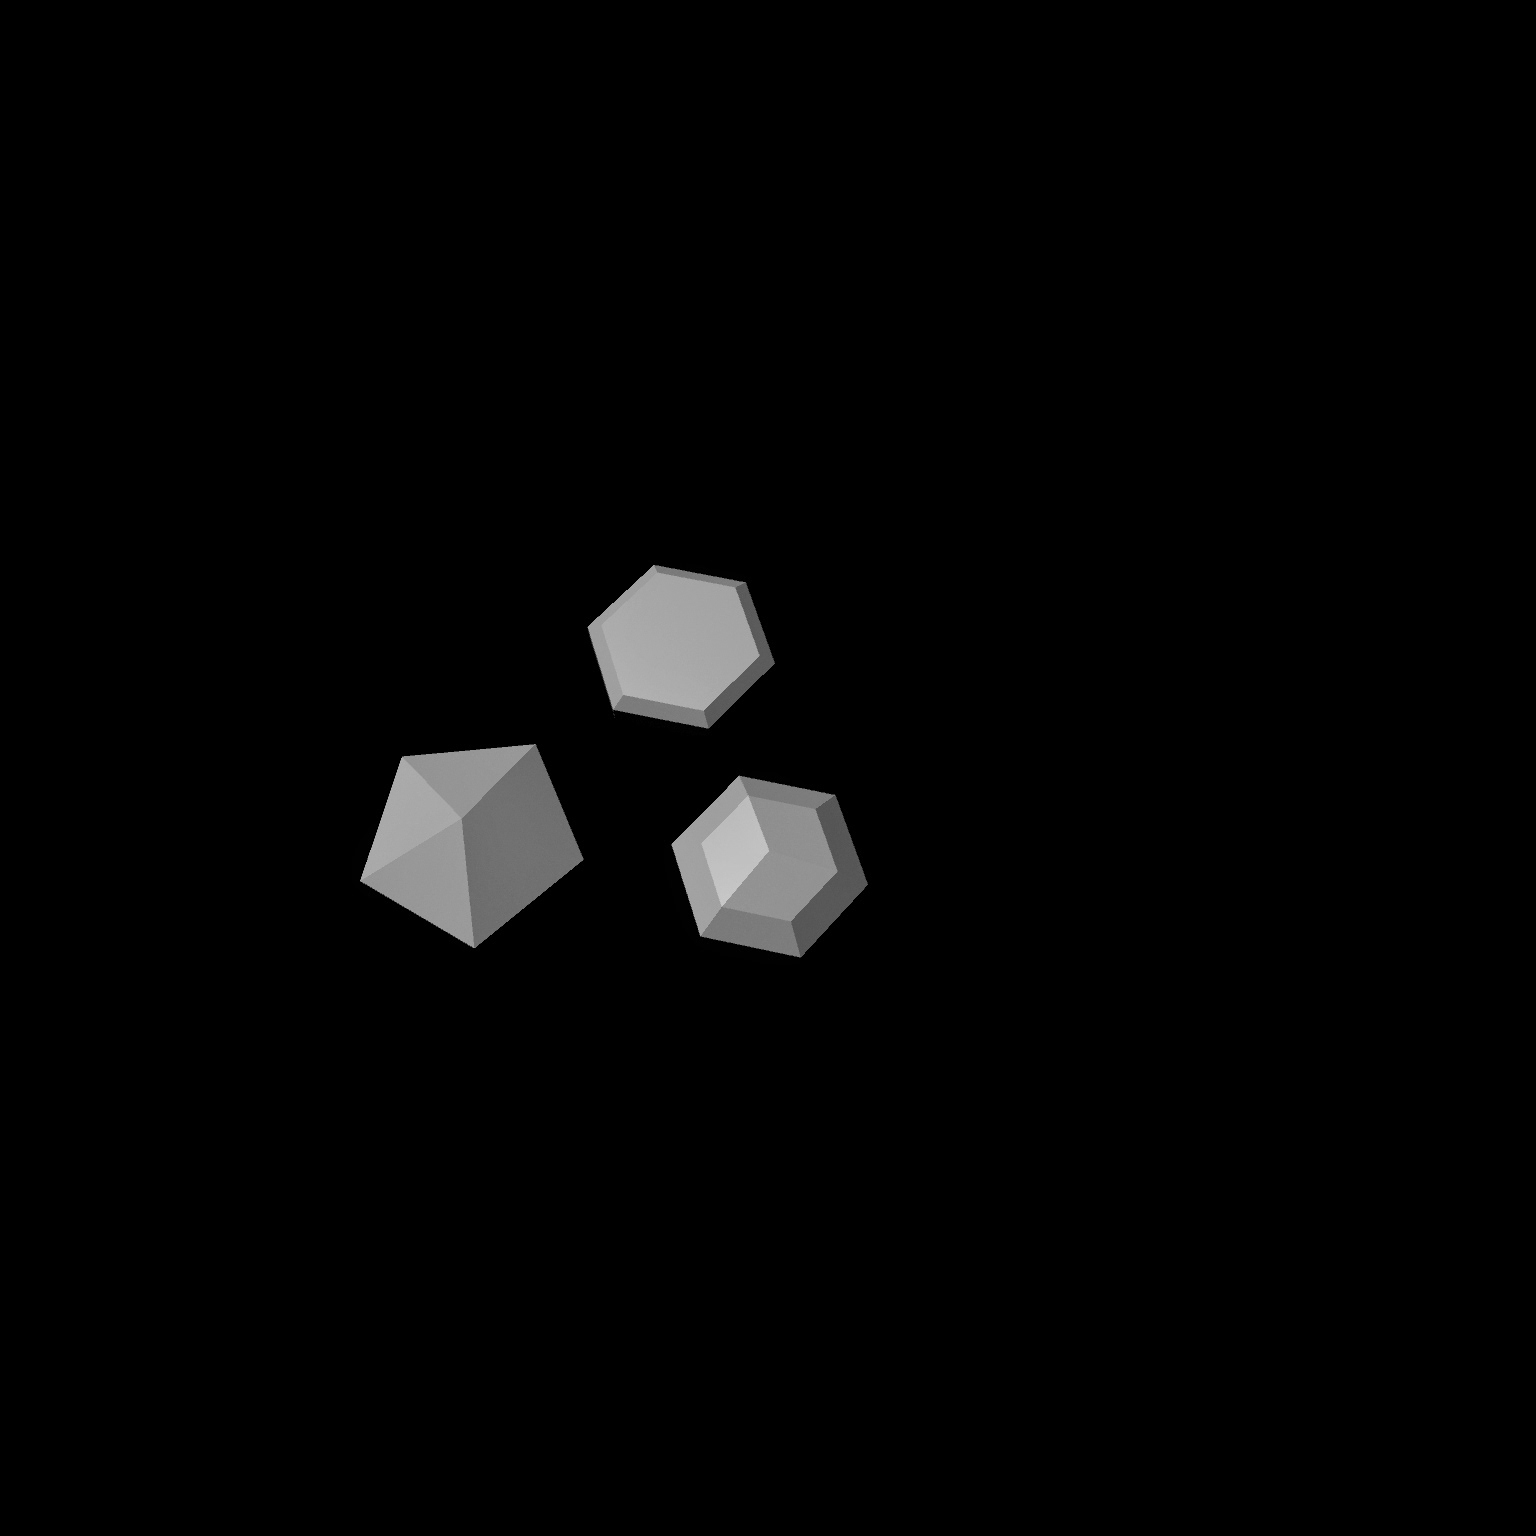
medallions
Rock portal for end game
Tried painting a height map to understand how they work
my paint over at the begining of the starting area
apart from the terrain, experimented a lot with things like normal maps to get my head around some essential information we would need in the project.
Also setup the Trello board.
https://trello.com/b/znMNEJQD/cga-game-team
went through 13 weeks of iteratations with terrain
I did the terrain as Paul was using a small test area to create scripts and mechanics.
The terrain started of from Pauls plan, and kept working it until he was happy.
it was really difficult process trying to create this huge area and make it effciently and quickly, I learnt the best way was to use really simple geometry then turbo smooth it
after creating the terrain, we discovered it was going to be really difficult to texture, and unwrap. it also meant lost surrport of a host of features in unity, like trees, grass, LOD meshed terrain and more.
So after a lot solution generating we used a script to create the mesh i had made into a terrain in unity using raycasting. This made the new object terrain was very different and a lot larger.
In hindsight we would use a combination of both, however the unity terrain had the best benefits to us
Made a skybox
although we didn't go for this one, as Ed the art director thought it was to realistic and we asked Ash Cox to paint one, to be more fitting to the world.
it was a really difficult process, in photoshop getting the distortion right, then 3ds max rending the images of the skybox. Then in Unity learning the materials for skybox's. had to make a cube map then skybox render material
Making textures and stuff, to make sure they work and how to use them.
Again had like 4 week stage of just trying and learning, then failing and learning to do it better. then repeat.. Painted my own rock texture, had to distort in unity when unity terrain paint distorted it back.
Ash did the grass texture, then had to learn about grass materials
making caves for the scene (unused in final), made mesh colliders for terrain (unused due to wierd scaling of terrain system)
made a glowing plant (globo) to light up the scene nicley.
final stuff, placed all the assests in the scene, making sure colliders where correct, made the stands for the wooden platforms.
finilasing all the water, balancing the water 4 unity shaders. Bug testing the landscape with Nik
and sorting out coding a objects and puzzles with Paul
and the Trees (so difficult understanding the tree maker, but know a pro)